Simplicity 4124 - The Embellishment, Part I
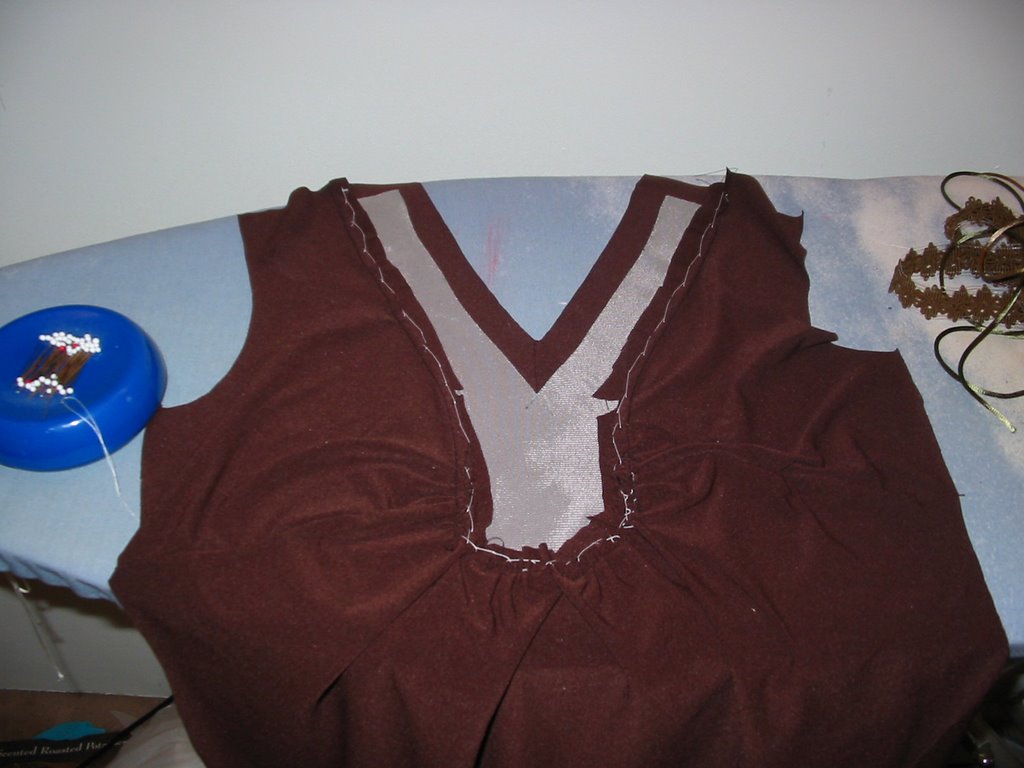
The embellishment that I wanted to do on this pattern meant that the construction process had to be changed. The instructions say to stitch the placket to the front, and then attach the placket facing to the inside. I reversed this for a couple of reasons, (1) I wanted the placket edges to be crisp and even. It's just about impossible to get this with machine stitching, and (2) The placket had to be easy to handle so I could add the passementarie, rat tail cord and beading.
The first step was to create a placket template from a manila envelope (no seam allowances.) The template was used to form a clean edge. A piece of silk organza is placed underneath the fashion fabric and I pulled it up to fold back the seam allowance. The placket is interfaced to with a light knit fusible because it needs to be perfectly stable for the heavy embellishment. The interfacing goes to the edge on the neckline edge, but stops inside the seam allowance on the outside edge.

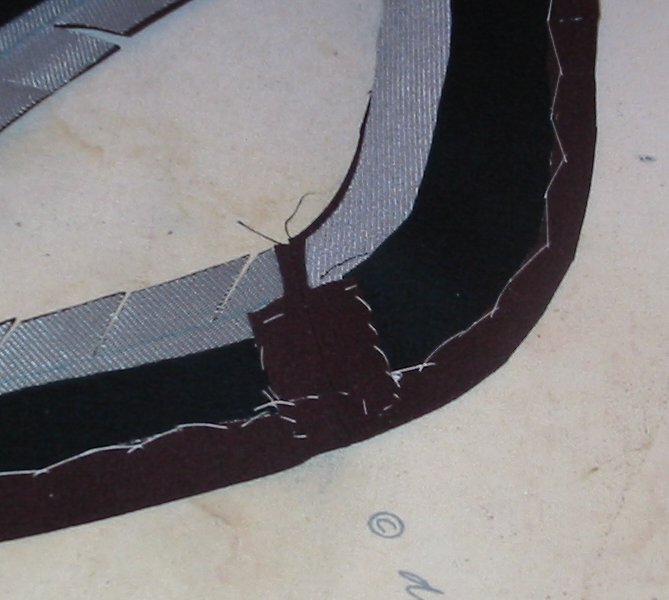
The next step is to catch stitch the fold backed seam allowance all along the outer edge of the placket. The black fabric is wool felt, which is needed as a backing. This is part of Kenneth's original technique. After the edges were catch stitched I lightly pressed and steamed the placket again, and then added the passementarie trim and rat tail cord.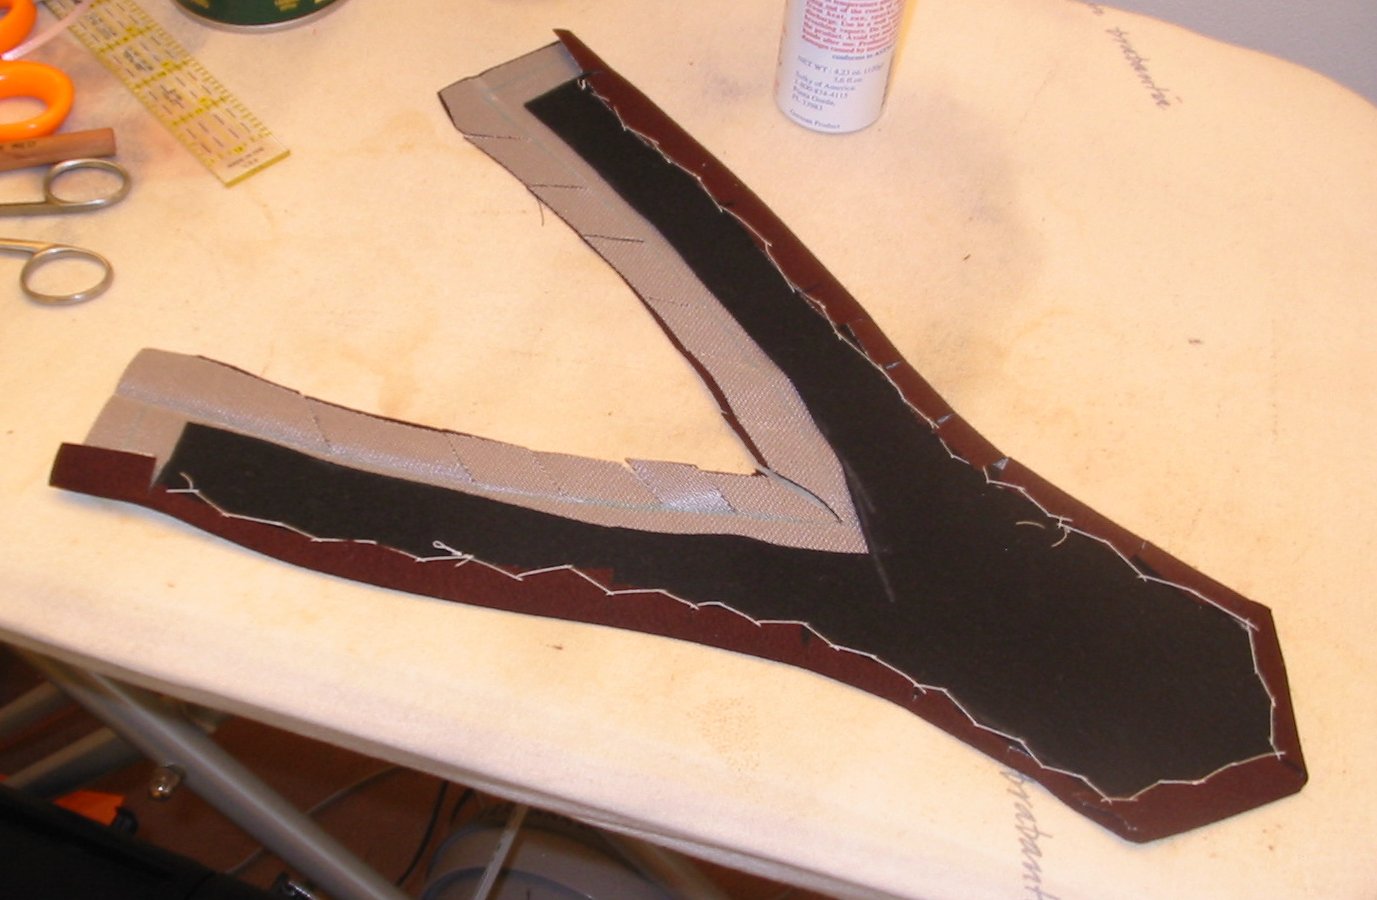
posted by Phyllis @ 1:53 AM
![]()
![]()


1 Comments:
Fantastic blog, Thanks for sharing. Keep posting like this.
Fabric Front Embellishment
Ribbon Embroidery
Post a Comment
<< Home